Start Date: 1.27.2020
Due Date: March 10, 2020
Due Date: March 10, 2020
Course Work
Okay... Here's what you've all been waiting for. These are your choices for your COURSE WORK assignment. We will talk about this in length in class and I will guide you along through your journey. That's exactly how you want to treat this... as a journey. You should be photographing and editing ALL THE TIME.
Downloads
|
Each week after the initial choice is made, you will be required to turn in completed pages of your journey. I will go over in class how to best accomplish this.
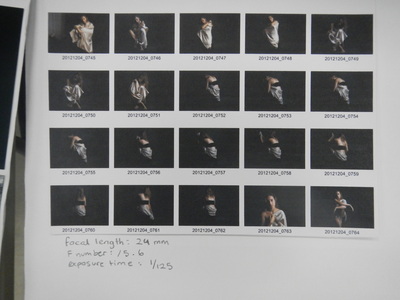
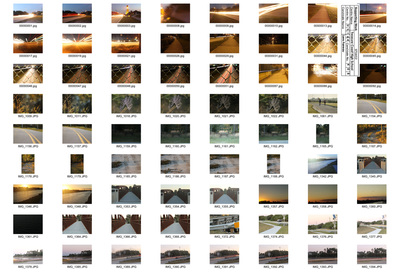
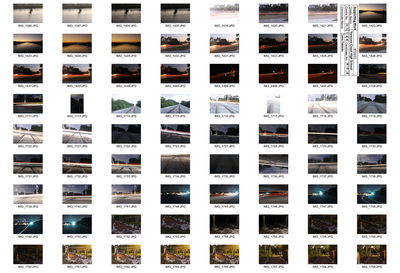
Due dates for pages February 10, Pages 1 & 2 February 21, Pages 3 & 4 March 6, Pages 5 & 6 March 26, Pages 7 & 8 March 26 - Cover/Final Piece/Contact Sheets/Corrections Each week, you will need no less than 40 photos... The 40 photos SHOULD NOT LOOK ALL THE SAME. There should be different angles, color to black and white, Photoshop experimentation, etc.,... and different IDEAS. Don't get stuck on one idea. Cambridge places a lot of value on EXPERIMENTATION. You don't have include all of them in your pages, but you will need to also give me a contact sheet each week with your pages. In the end you will "recompile" your images into a final contact sheet. After I grade each page, I will let you know what you might want to correct on each page. All corrected pages should be turned in by March 10, 2020... ALONG WITH YOUR FINAL CHOICE of photo, cover and final contact sheet. |
Due Dates for Contact Sheets:
February 6 February 14 February 21 February 27 March 6 March 12 |
Step 1
This is a step that once you have it approved, you can not go back and change your mind. Think it through thoroughly!
DUE DATE: January 27 - END OF CLASS. I will be sitting with each of you to go over it what you have decided. It may seem like I am discouraging you, but my goal is to get you to see the time, effort, and potential issues you may run into.
DUE DATE: January 27 - END OF CLASS. I will be sitting with each of you to go over it what you have decided. It may seem like I am discouraging you, but my goal is to get you to see the time, effort, and potential issues you may run into.
Step 2
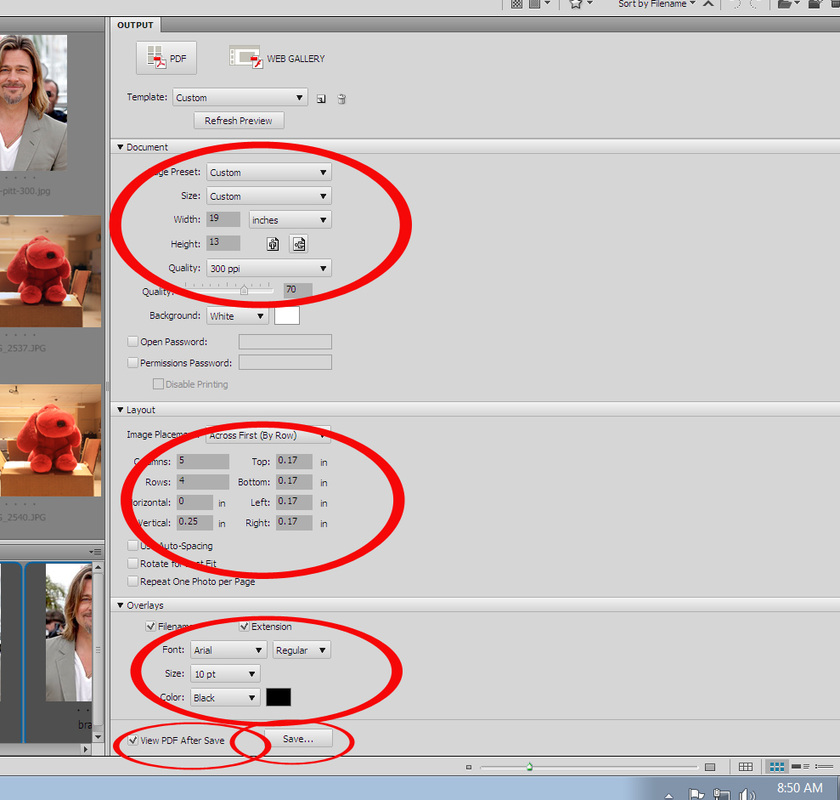
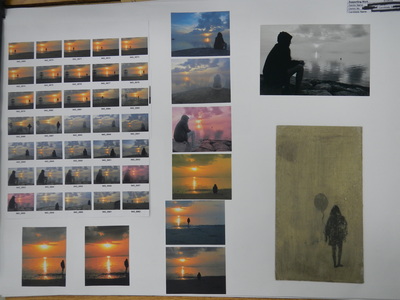
Start experimenting and creating compositions. Try different takes on what you have chosen. For instance, if you choose the word Juxtaposition, try compositions that give it a literal meaning and then compositions that give it more of an abstract meaning. You will be required to turn in a contact sheet (13x19) of everything you have done at the end of each week. There should NEVER be less than 40 photos or experimentation (Photoshop included) images. Don't try to do everything the day it is due. I want to see them spread out and some effort. If you need to write a few things during this process, include them. SAVE EVERYTHING! If you want to learn how to do something in Photoshop and do a tutorial, SAVE IT (but use your own photo)! You need to be working ALL THE TIME. Use the studio, try different lighting situations ~ and MAKE NOTES of what you are doing. Why? You may need to explain the purpose of what you are doing. Even if most of your work is being done outside of class, you need to bring it with you every day you are with me and work on it... editing, etc.,... A contact sheet will be required to turn in at the END OF EACH week until we reach the point of where you need to be working on a final piece. This work needs to look like finished products... but you may include steps that you do along the way, as well. I will give you the final due date soon.
Step 3
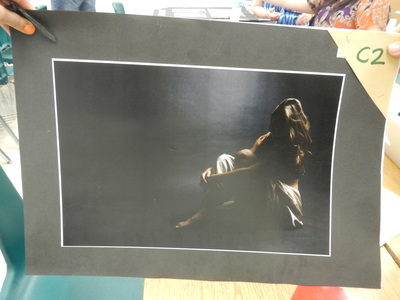
In this step, you will create a final piece that describes what you have chosen. It needs to be polished, have the necessary components of art (art elements and design principles). The lighting needs to be perfect. The composition needs to be of superior quality. This is what you are going for, ultimately. DO NOT try to race ahead and get this done before you've done your experimentation compositions. It is imperative that you do not try to execute this before you have taken the journey through experimenting behind the camera and in Photoshop.
Step 4
The fourth and final step is putting it all together. Your final composition will go in the front. It should be 13x19 or 19x13. Then you will lay out your supporting work by showing your journey.
FONTS: Use simple fonts such Arial, Century Gothic,... NO FANCY FONTS - except for titles...
LAYOUT: Keep it simple. You may want to use a caption or two explaining what you did... or your experiments with ISO, Depth of Field, Shutter speed, etc.,... When you write, do not make that the center of attention when laying it out. YOUR WORK and JOURNEY should be the center of attention. NO FULL BLEED BACKGROUNDS. Keep the background white. Stay within the guides on the pages that I have created for you.
NUMBER OF PAGES: You should have NO LESS than (8) 19x13 inch pages of support work, plus your cover and final piece. I will have an INDESIGN template for you at the bottom of the page and instructions on how to put it together in class You may or may not use all of the work you have done... it just depends on how you want to approach the final product. You will export your file as a PDF. I will show you how to do this in class.
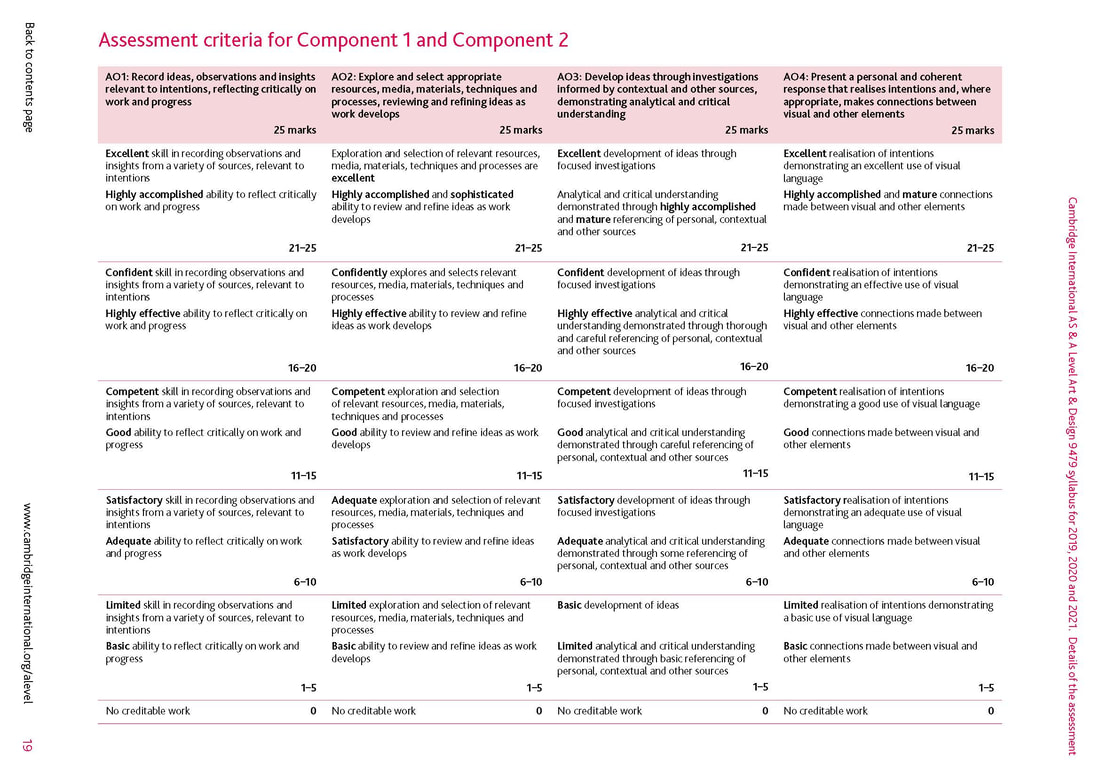
Important Grading Info from Cambridge
Photography, Digital and Lens Media
Candidates should use traditional and/or new media processes to produce outcomes such as photomontage, printed photography, digital photography, photographic or digital installation, video and animation, film and digital creation and manipulation. Work may be in color and/or black and white. Candidates should demonstrate an expressive and/or interpretative artistic response to the visual world. They should show an understanding of the convention of photography and genres such as portrait, landscape and movement, and a range of techniques appropriate to their chosen field.
Consideration of the following techniques should be given:
Candidates should also show skills in experimenting with media and processes such as:
thumbnails of original digital photographs or storyboards.
Still imagery
Candidates should demonstrate their skill in the production of still images through a lens-based approach. Candidates will demonstrate an understanding and control of equipment in order to produce work that is personal. Using a wide range of methods, techniques and processes candidates will produce imagery that is their own work. For candidates using digital lens-based media, their work should show evidence of the manipulation and presentation of the imagery using a computer.
Candidates should use traditional and/or new media processes to produce outcomes such as photomontage, printed photography, digital photography, photographic or digital installation, video and animation, film and digital creation and manipulation. Work may be in color and/or black and white. Candidates should demonstrate an expressive and/or interpretative artistic response to the visual world. They should show an understanding of the convention of photography and genres such as portrait, landscape and movement, and a range of techniques appropriate to their chosen field.
Consideration of the following techniques should be given:
- depth of field,
- film speed/shutter speed,
- lighting/exposure,
- tone and/or color,
- viewpoint/composition,
- framing,
- editing,
Candidates should also show skills in experimenting with media and processes such as:
- abstracting,
- illustrating,
- documenting,
- alternative print processes through digital media (liquid emulsions, bleaching, resist, toning, use of specialist papers
- or other photosensitive surfaces), creation and manipulation of images with computers, image scanning and manipulation.
thumbnails of original digital photographs or storyboards.
Still imagery
Candidates should demonstrate their skill in the production of still images through a lens-based approach. Candidates will demonstrate an understanding and control of equipment in order to produce work that is personal. Using a wide range of methods, techniques and processes candidates will produce imagery that is their own work. For candidates using digital lens-based media, their work should show evidence of the manipulation and presentation of the imagery using a computer.
Choices
Instructions: Choose only one from Section A or Section B.
Section A: This section is good for students who want open-ended subjects
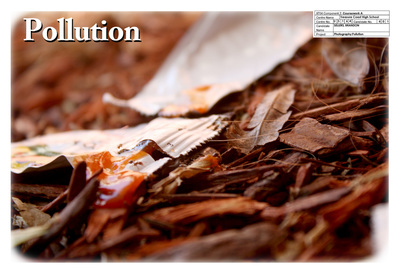
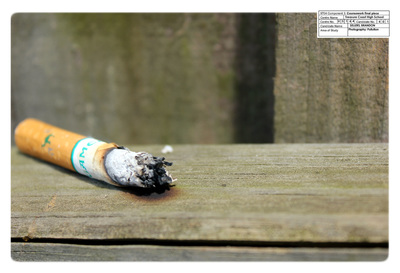
- Pollution
- Bodywork
- Time honored
- Juxtaposition
- Tangled and twisted
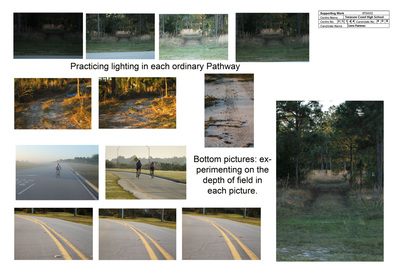
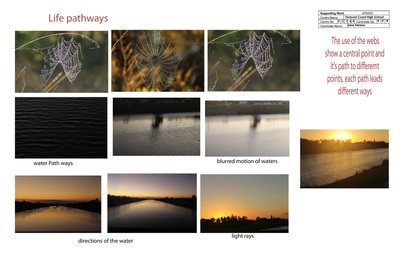
- Pathways
- Collections
Sample work
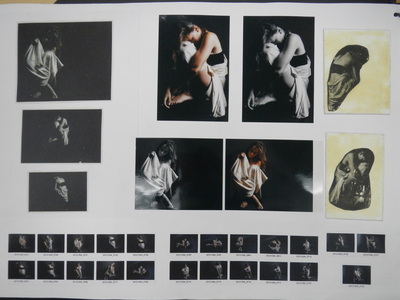
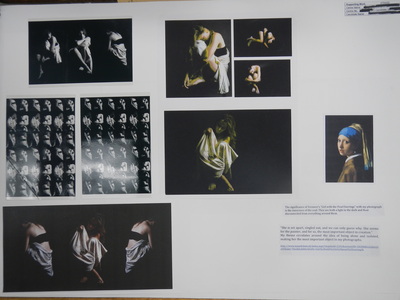
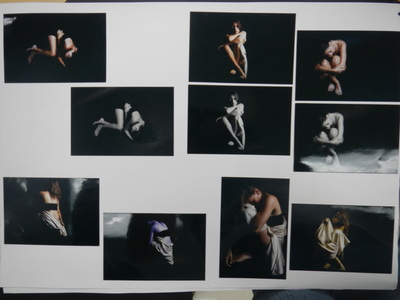
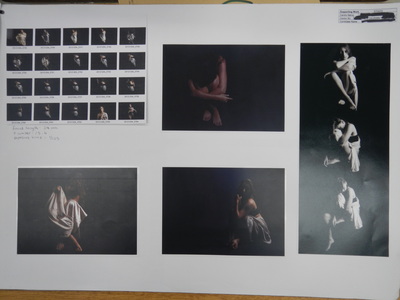
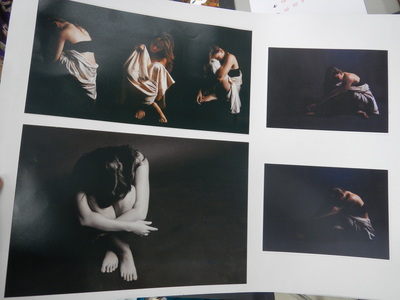
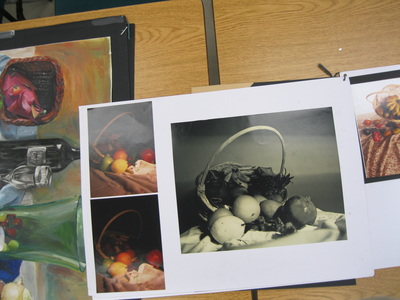
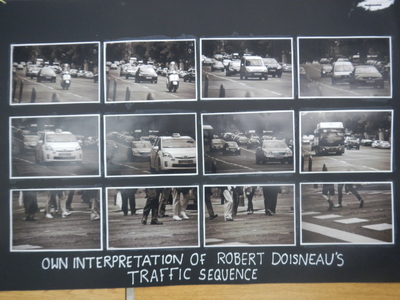
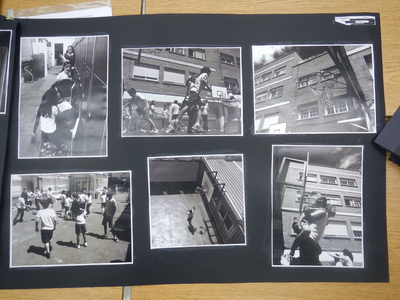
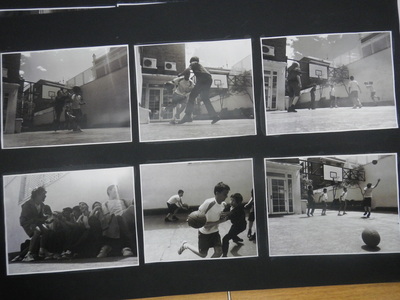
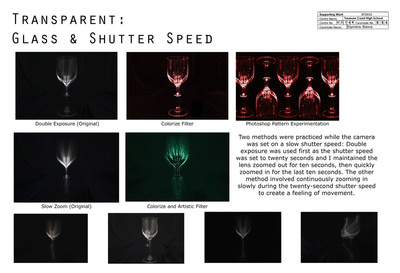
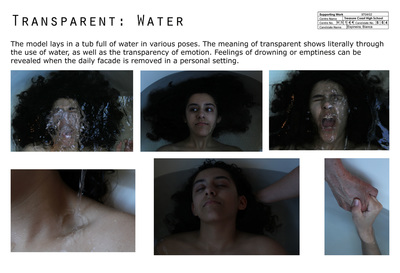
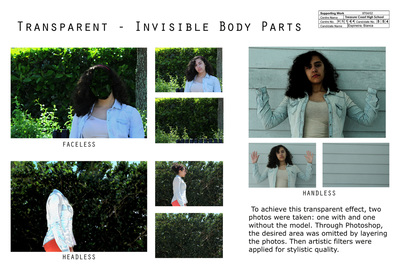
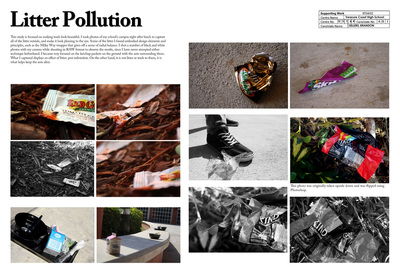
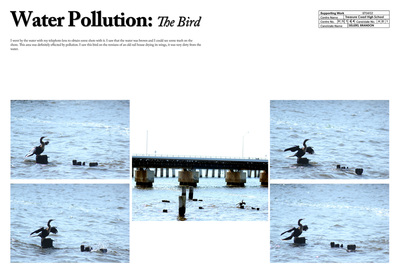
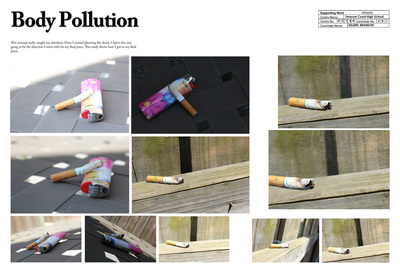
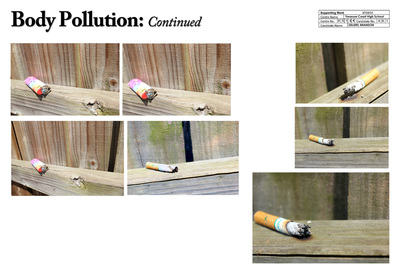
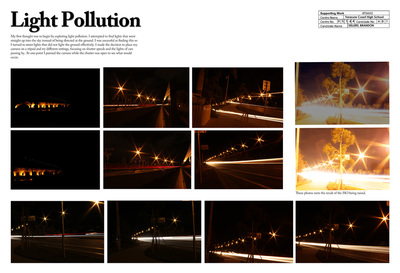
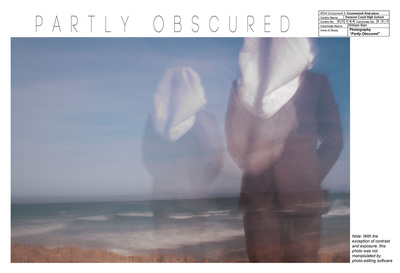
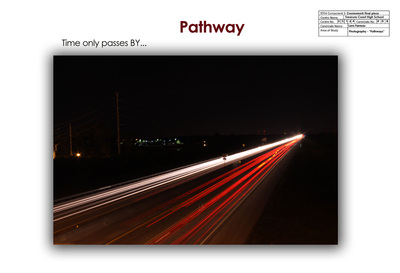
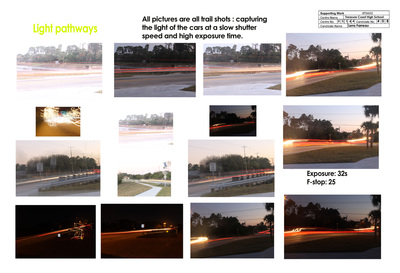
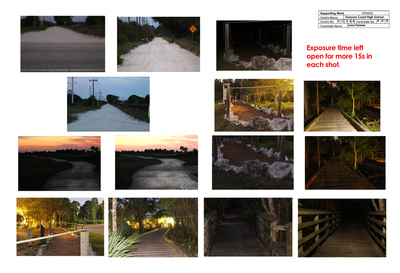
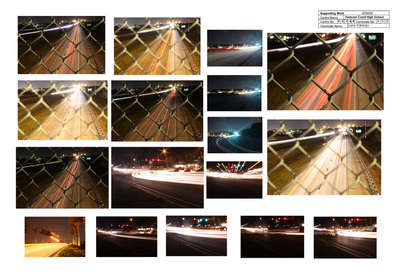
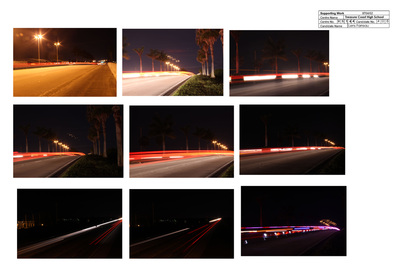
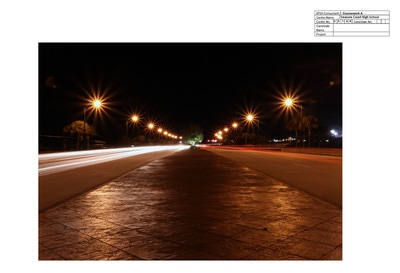
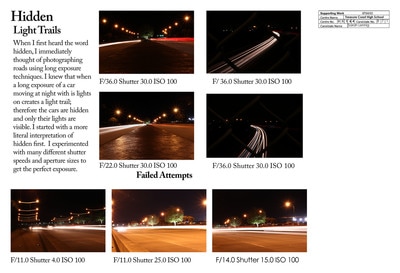
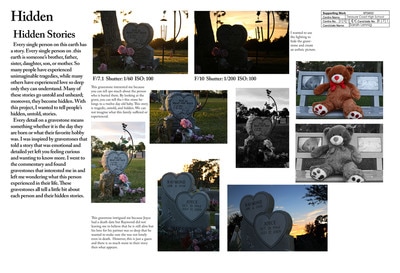
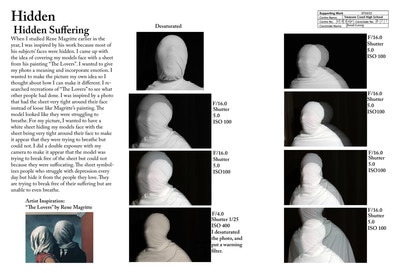
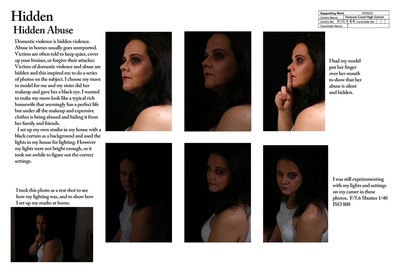
This set of work got high marks. I'm not sure what word it was or what the question was, but you can see the effort was strong in this particular project. Keep in mind, also, that the size of this paper is about 36" x 24".
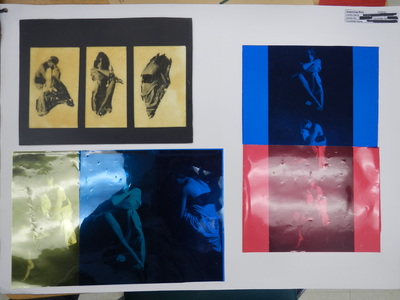
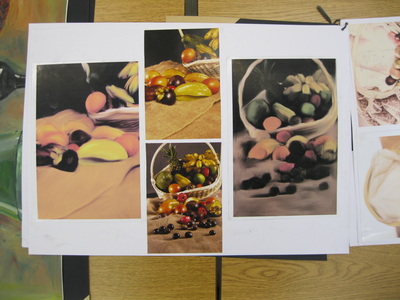
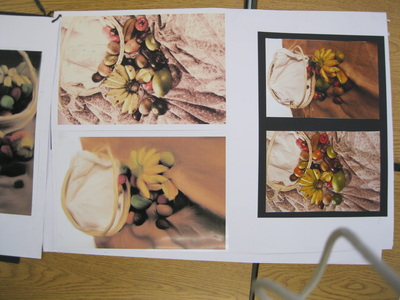
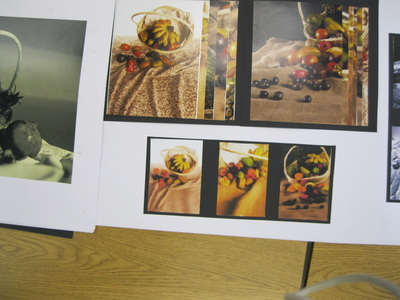
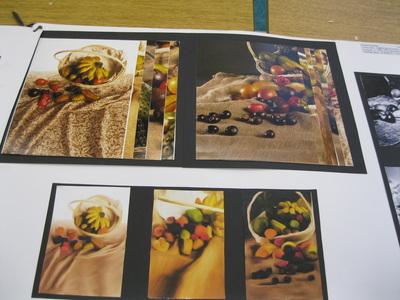
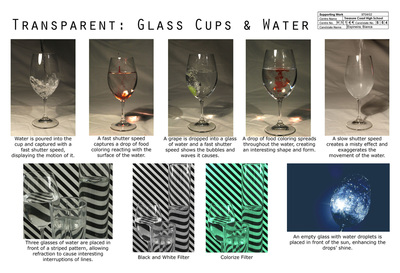
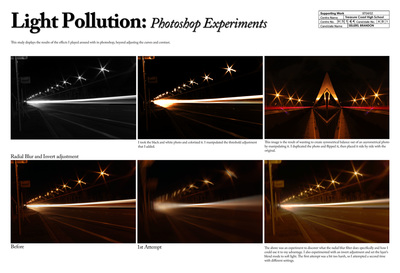
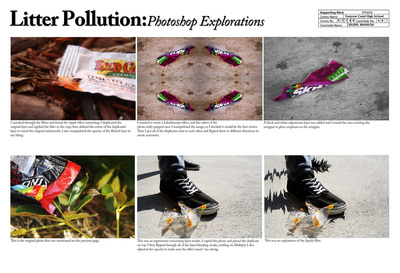
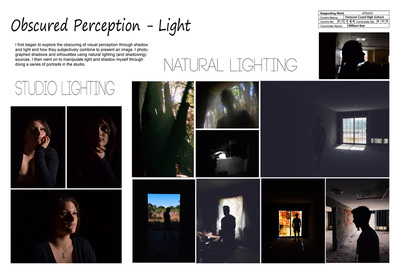
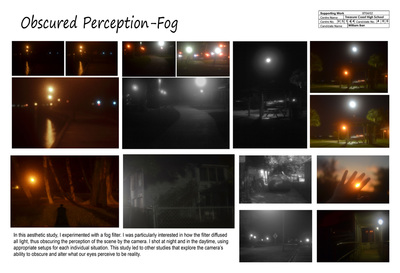
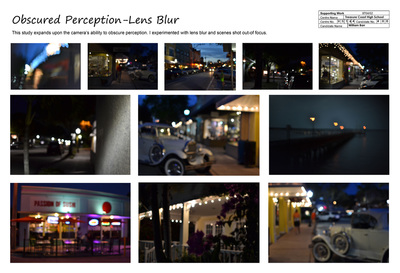
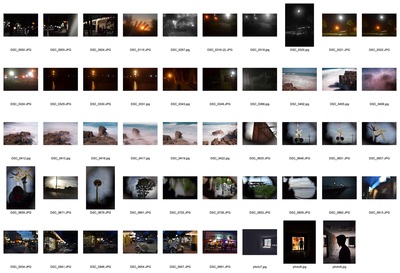
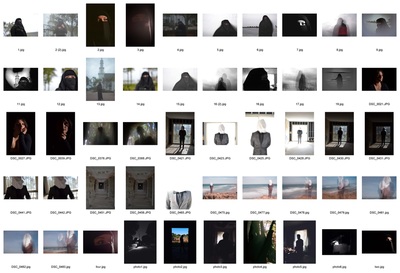
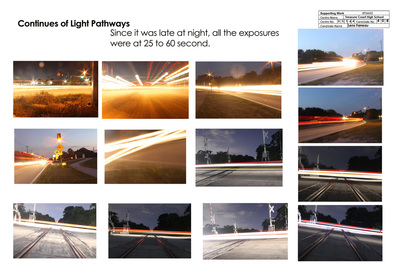
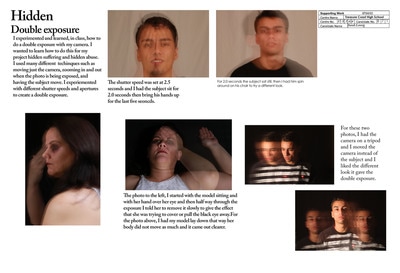
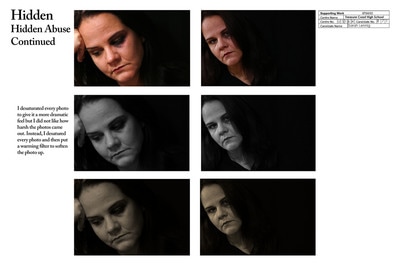
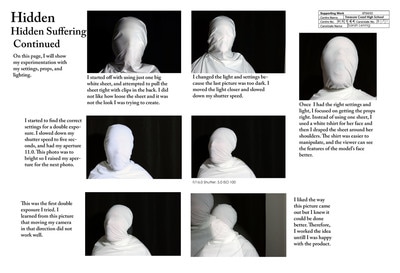
This set shows one of the leading questions which help a student get started (section B). I'm not quite sure how this student scored, but you can see A LOT of experimentation going on... both behind the camera and with Photoshop.
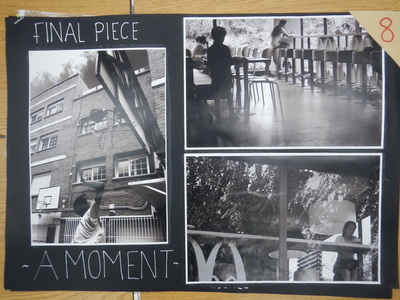
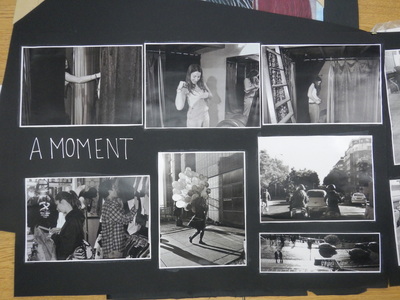
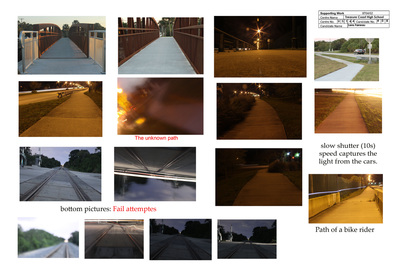
The photos in this one are not stellar, but you can see the experimentation going on. The word was A MOMENT.
Sample From Previous Years
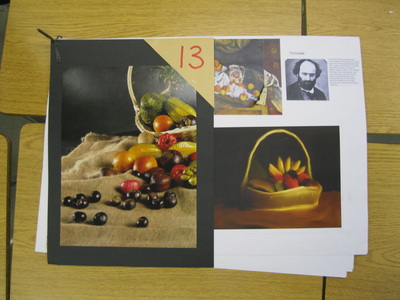
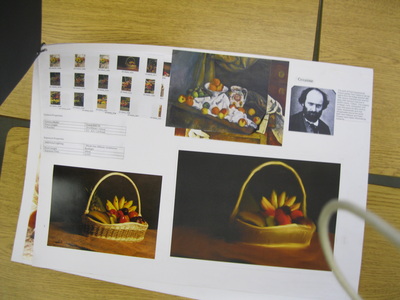
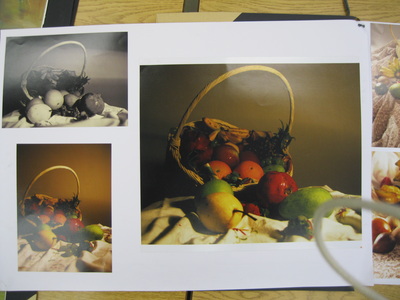
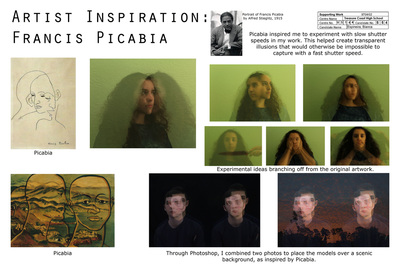
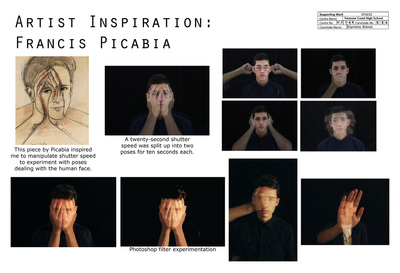
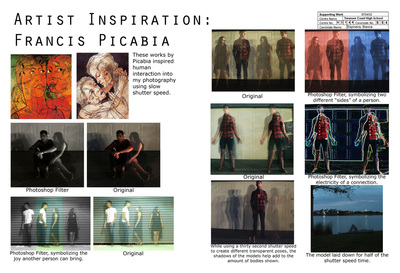
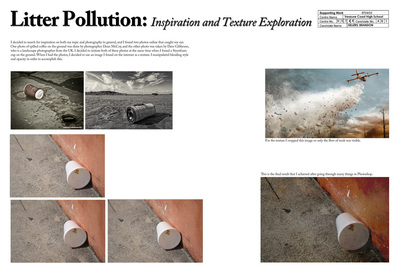
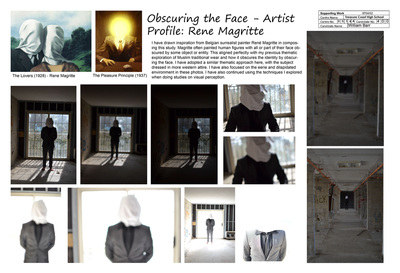
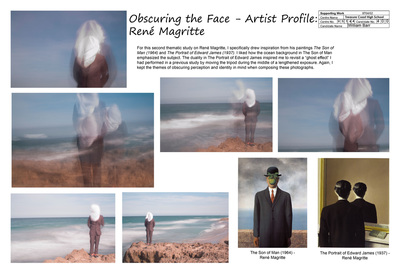
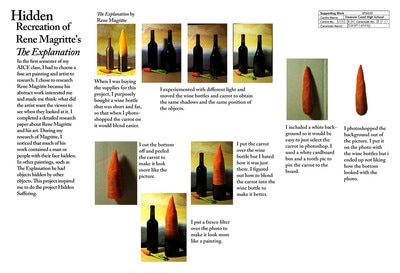
All of my students passed last year with a Cambridge. Grades ranged from B to D. That is not bad... but I'd like to see more experimentation... As you will see from the one below, the experimentation was limited at best. This was probably the strongest work in the end, but just not enough. The graders are not looking so much for extra content as they are experimentation. They want to see your journey, as do I. ALSO, you will want to have at least one or two artists that you study along with your experiments. This will help a lot with ideas. Note how some of th students included their artist(s) on their pages.
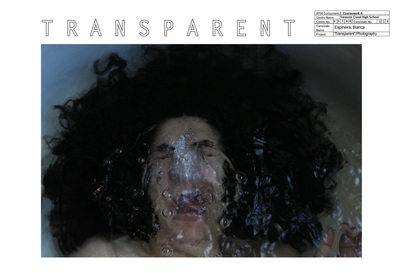
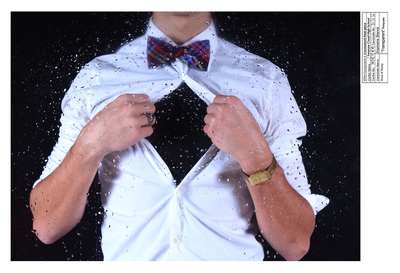
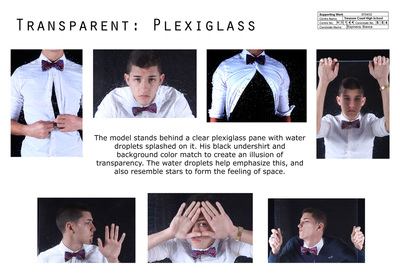
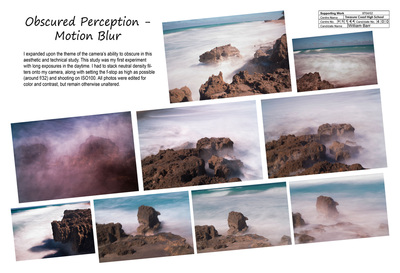
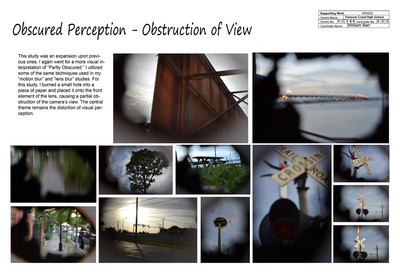
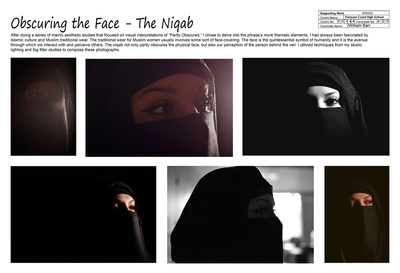
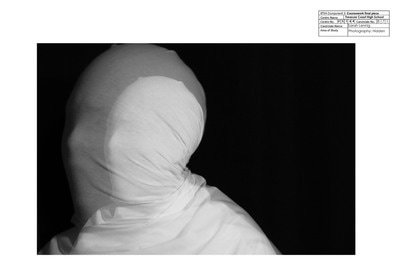
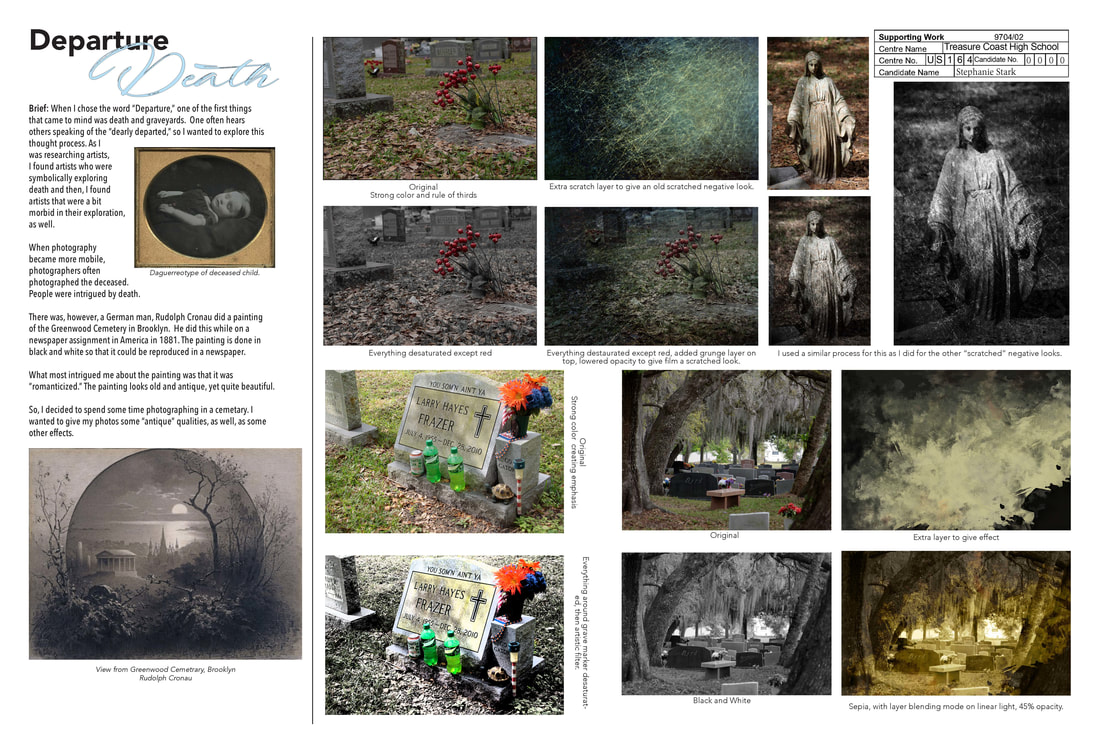
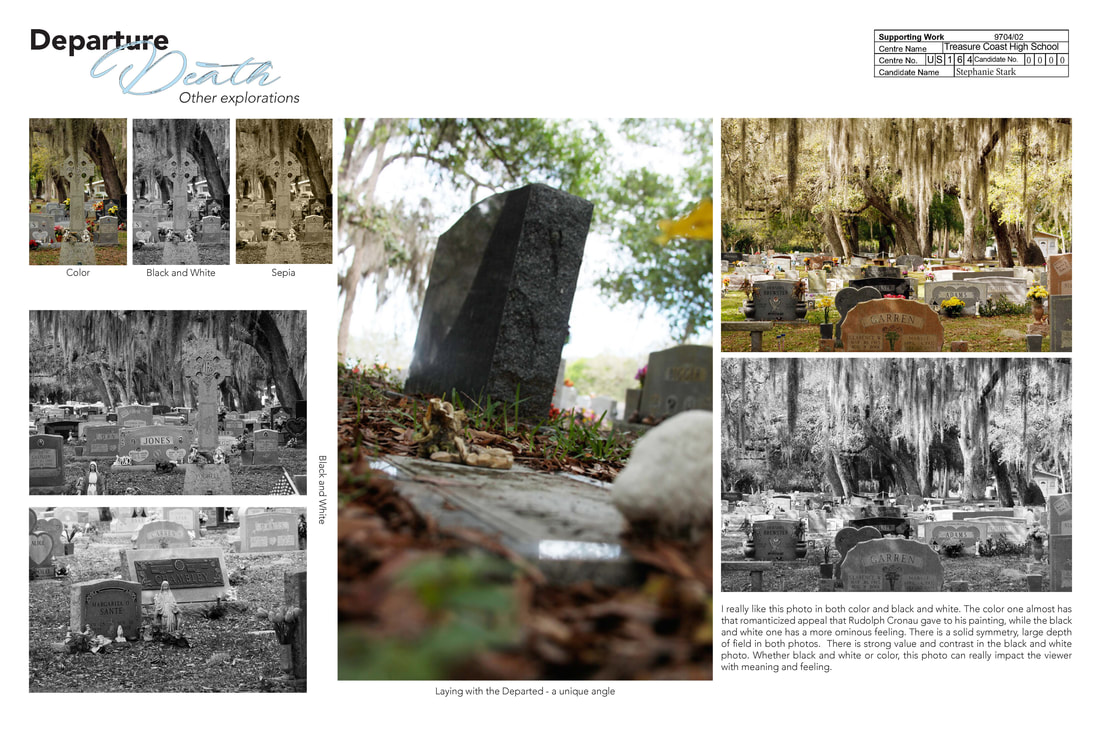
Below is probably the best that I have seen come from our group at TCHS. As a matter of fact, Cambridge kept this one because they liked it so much. True experimentation, different ideas - both broad and narrow. This student also took a look at artists from which he could glean ideas. That is very important. This study scored an A... both in my class and Cambridge.
This is another great example of how to approach your coursework. As you can see with this one, as well, experimentation is 9/10's of the law. This student was brave enough to mention his mistakes, as well. He received a B on his from Cambridge... which is truly outstanding.
Here is one you really need to pay attention to!
This student received the highest grade in the NATION on her AICE Work (2015-2016 school year). Pay close attention to how she worked through each study and her experimentation.
Last, but not least
Last but not least, I am providing some links below to help guide you through some of this process. Use this project to pick my brain, talk things over with other students and me, ... When it comes to the test, I am not allowed to help you (unless something breaks). I am going to keep you on task - and I will give you some other things to work on along the way to help you think it through.
Link 1: This site (I encourage you to browse through the entire site) will show you the process of students who achieved very high grades from Cambridge. Please read through the entirety of the writing, because you will have a better understanding of the process that Cambridge is looking for.
Link 2: Photo Composition help.
Link 3: The importance of Focal Points
Link 4: Using Active Space (moving objects)
Link 5: Breaking the Rules
Link 6: Photography Techniques and when to use them
Link 7: 50 excellent tutorials for the Photographer using Photoshop
Link 8: 34 Photoshop effects every photographer should try.
