Tutorial 1: Changing Hair
One of the fun things about Photoshop, is that we can actually change the color of things. This is a fun and "cool" effect, especially when the photo we are working with is slightly dull... and, hey, if you always wanted to die your hair a certain color, this is a good way to see how it would look ahead of time.
Instructions
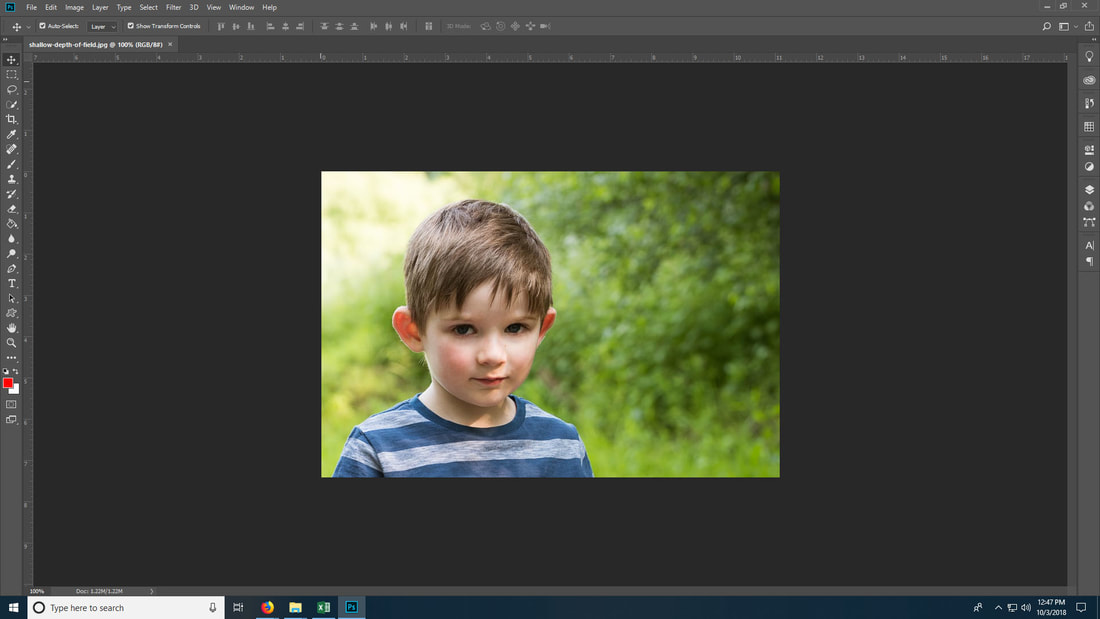
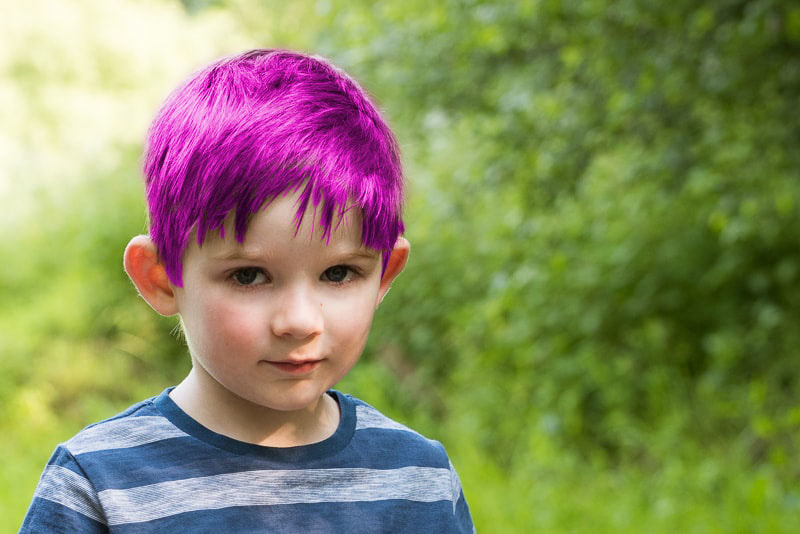
1. Take a Rule of Thirds Photo with a shallow depth of field of a person outside, much like we did for the depth of field exercise. Mode Dial should be on AV. Make sure your other settings are right in matching your environment -WB, ISO. To be successful for this one, you will need to find someone with a lighter shade of color on their hair.
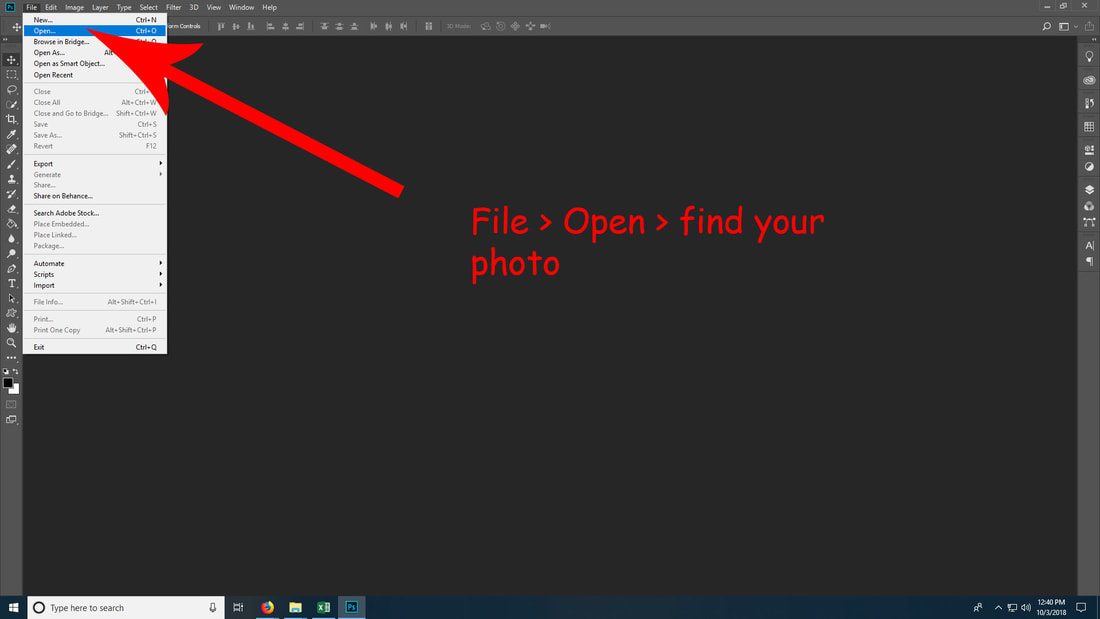
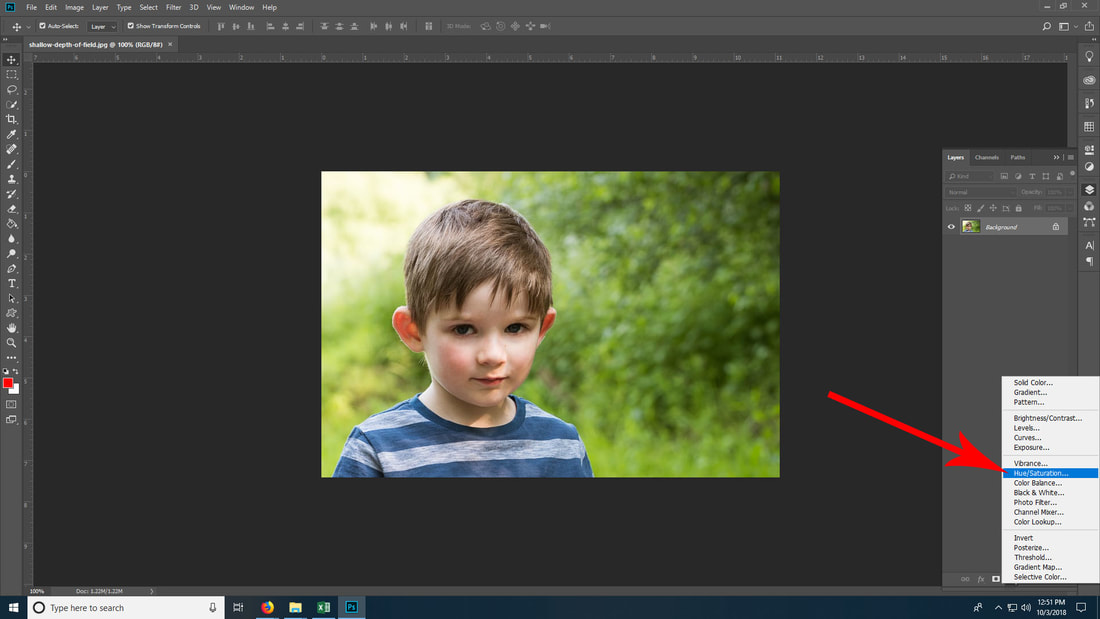
2. You can click on the link that says Tutorial 1: Changing Hair Color OR use the slides below to get you through this first tutorial. The link takes you to an earlier version of Photoshop, but it is still useful.
Instructions
1. Take a Rule of Thirds Photo with a shallow depth of field of a person outside, much like we did for the depth of field exercise. Mode Dial should be on AV. Make sure your other settings are right in matching your environment -WB, ISO. To be successful for this one, you will need to find someone with a lighter shade of color on their hair.
2. You can click on the link that says Tutorial 1: Changing Hair Color OR use the slides below to get you through this first tutorial. The link takes you to an earlier version of Photoshop, but it is still useful.
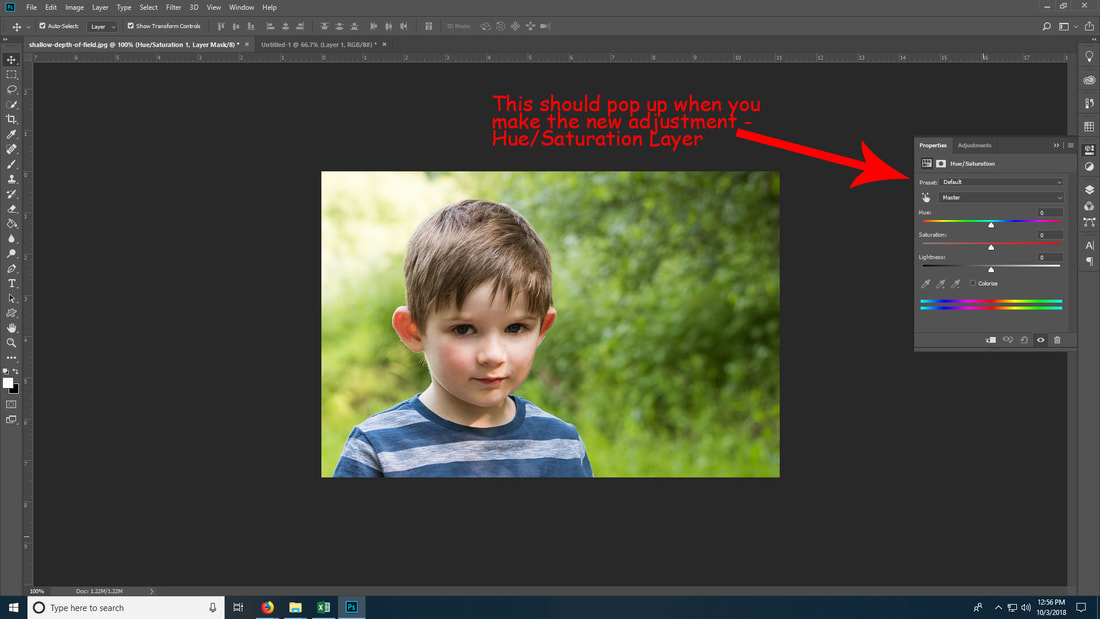
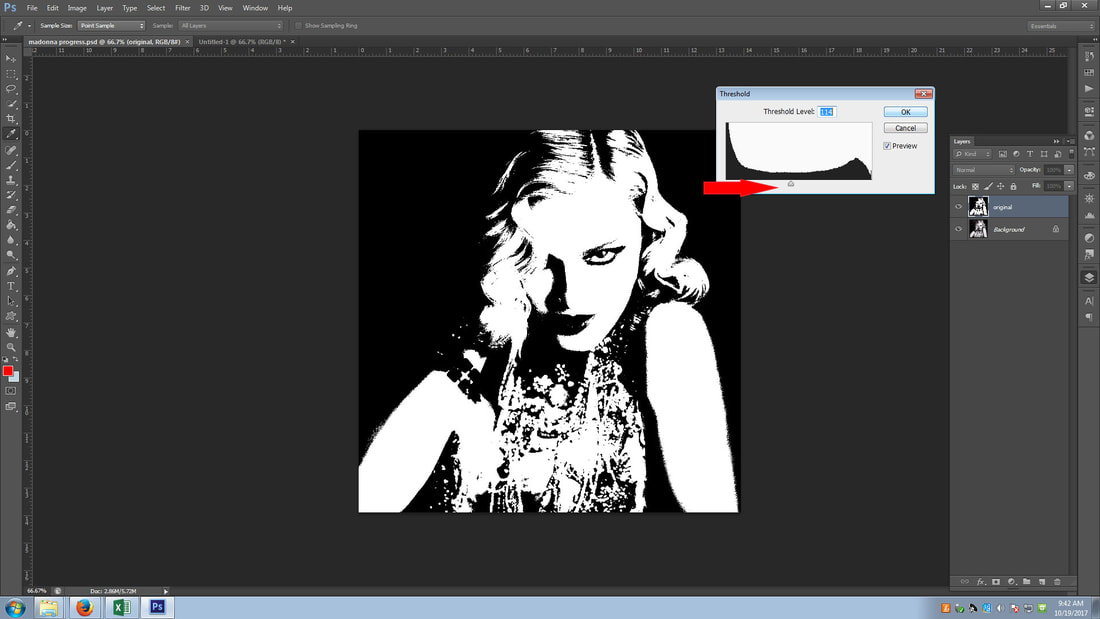
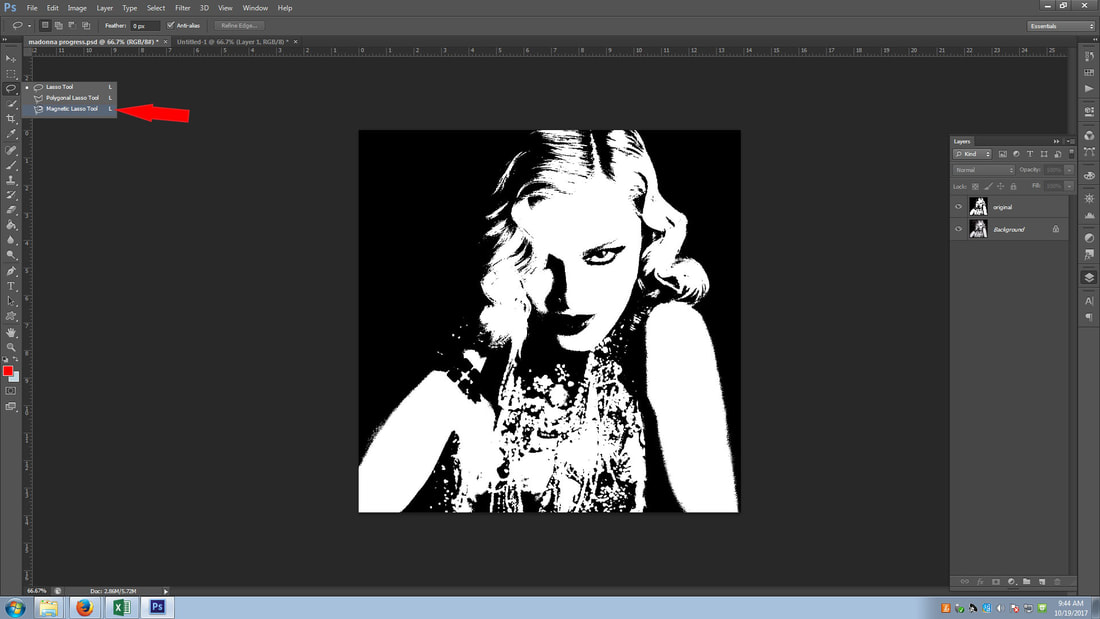
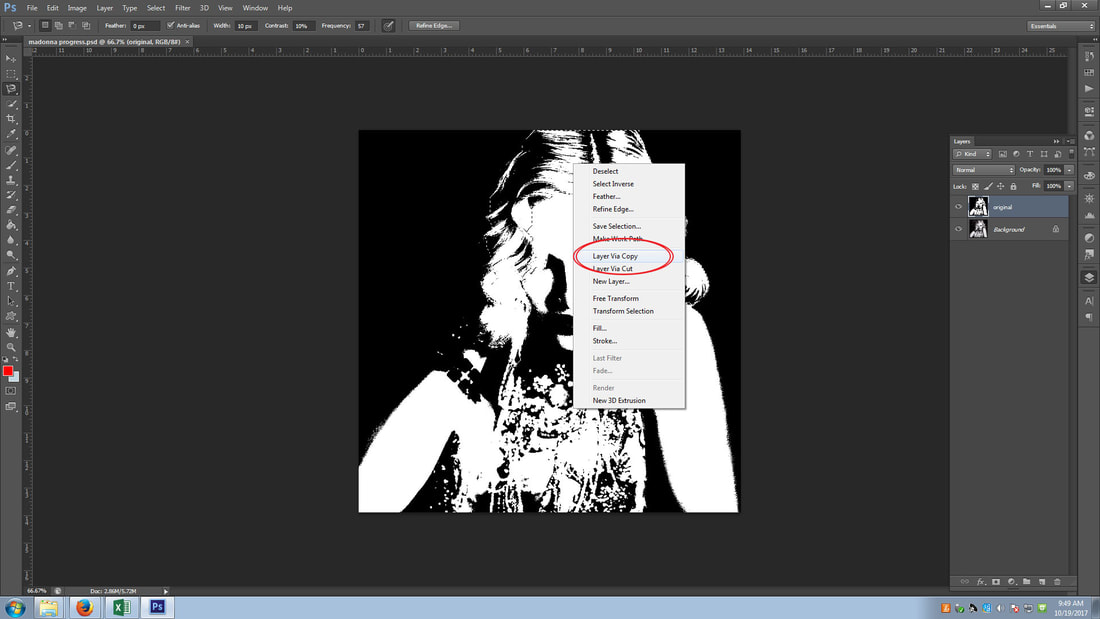
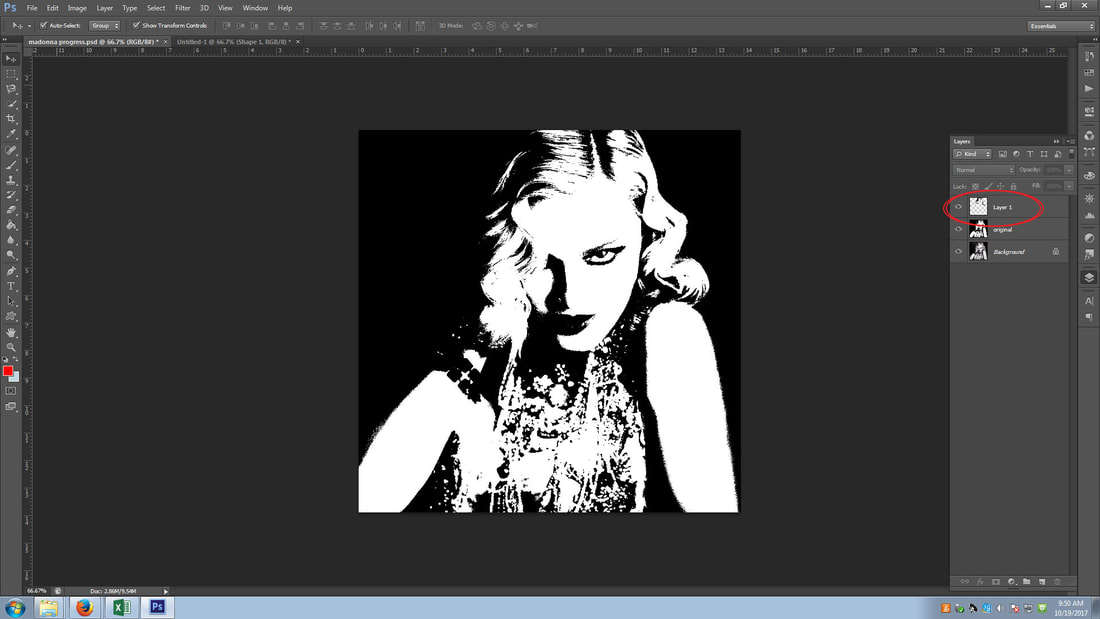
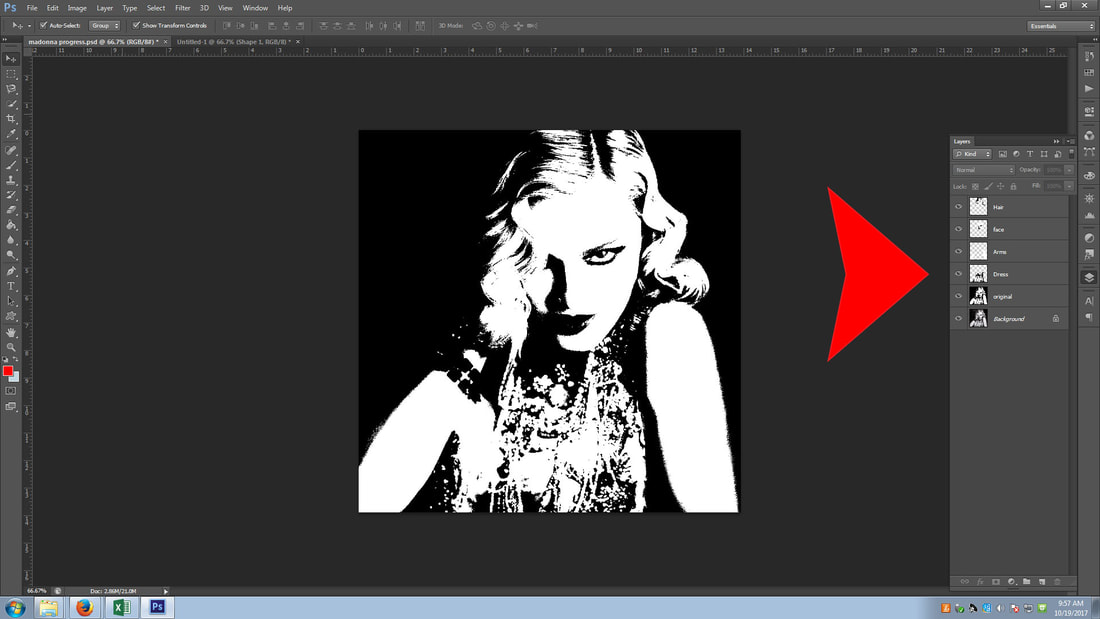
Tutorial 1: Changing Hair Color
Note: Read and complete each step. I will demonstrate one tutorial at the end of class each day. This one is fairly easy. When you go to save - SAVE AS... so that you still have your original photo. You WILL ALWAYS need to save your original.